You can read the previous part here:
How to create a floorplan in home assistant – part 1
How to create a floorplan in home assistant – part 2
Insert furniture
You can find all type of furniture on the left side in SweetHome3D

Drag the furniture you want into the room. Dubble click on the furniture to edit it’s properties.

Here you can change the Texture or change the size of the object. Just play a little with it to see what all option are doing and how it react on screen.
Sometimes you just can’t find what you want in the list. Here are some tips
Combine Furniture
My couch was not in the list. But I was able to combine 2 furniture’s to get the results I wanted. Add the same color or textures to it so it looks the same


Download Additional Furniture
You can download additional furniture from the internet and import it into sweethome3d
Select Furniture -> Import furniture

SweetHome3d supports the following formats:
OBJ,DAE,KMZ,3DS or a zip containing one of these files
You can search these object on google. Name and then the format name or look in the below list of websites I have found to hold my furniture’s
Import textures
You can import your own textures in to sweethome3D. In my case I could not get the flooring right. I made a picture of it and imported it

SweetHome3d supports the following formats:
BMP,JPEG,GIF,PNG
You can also import a texture library.

You can download texture libraries here Sweet Home 3D : Textures import
You can use these texture on the walls, flooring and even on furniture’s
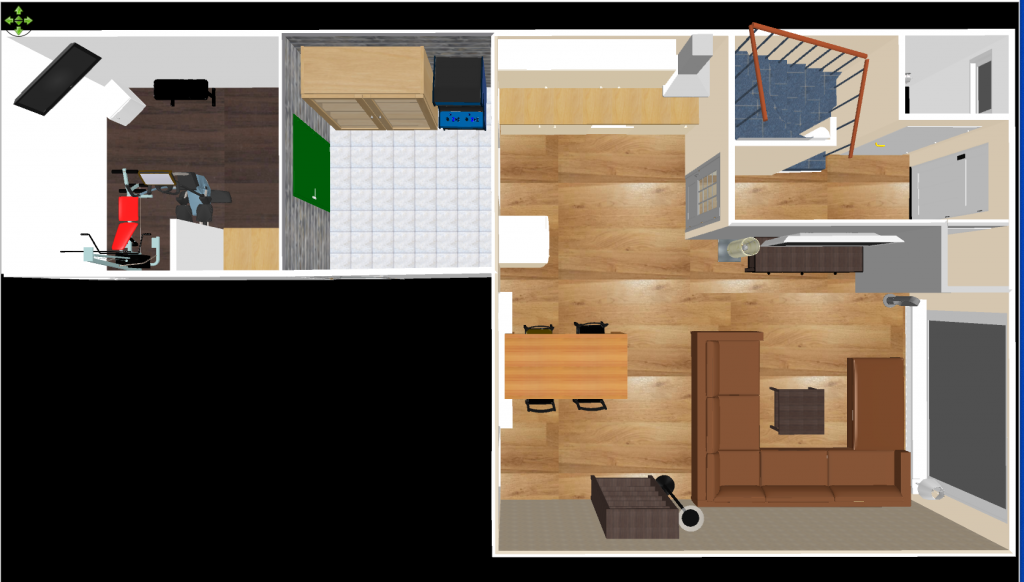
Render and creating the floor image
If everything is in place we can render the image

Place the vieuw in the 3D box the way you want.

Select 3D view -> Create photo

In the setting you can put in the day time. This will give it a certain lighting inside the image.

Press create. It will take a time for the image to be created.
Once done press the save button and save the file

This conclude this part of the blog series in the next part we are going
- Create the button images
- Upload the image into Home Assistant


